
Important
Download installer
See here to download the installer.
Running the Alpana Server installer
Login with administrator rights to the machine where you want to install Alpana Server.
Start the Alpana Server installer .exe file to start the installation.
Choose the installation language :

Accepting EULA
Accept the End User License Agreement and click Next :

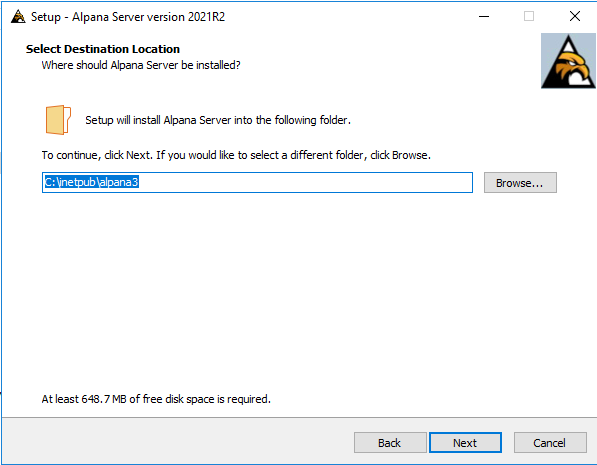
Configuring website folder
Alpana Server will be installed as IIS websites in this machine.
Use this page to configure the folder on the disk where the website files will be hosted :
Prerequisites check
Alpana Server installer will check if prerequisites are ok before installation.

click Next to open prerequites check.
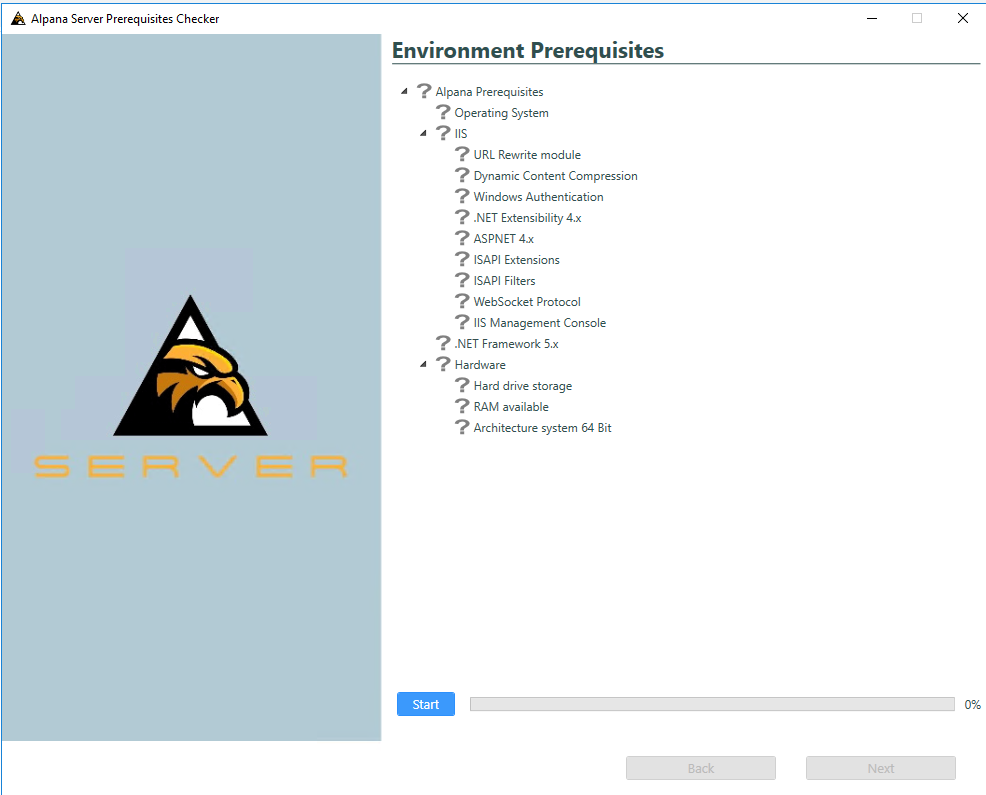
click Start button to start check.
Once it is done, all item in the list will show if it passes or not.
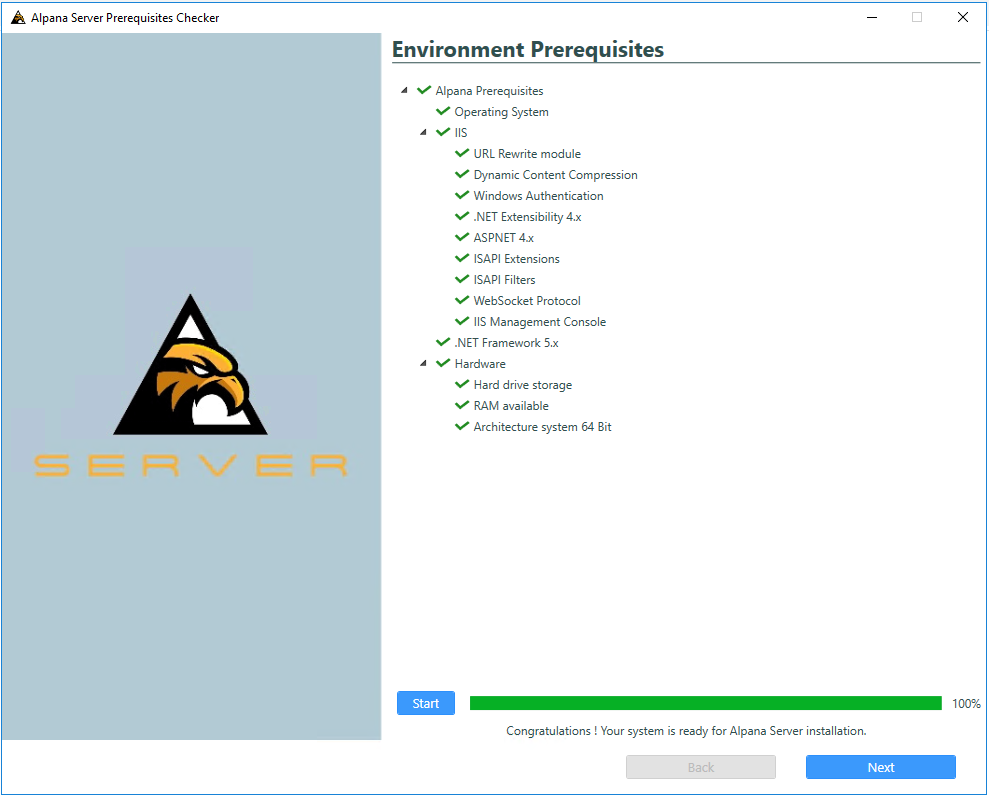
If everything is alright, the setup lets you go to the next step.
click Next to continue.
If some items are not validated, you will be able to check why :
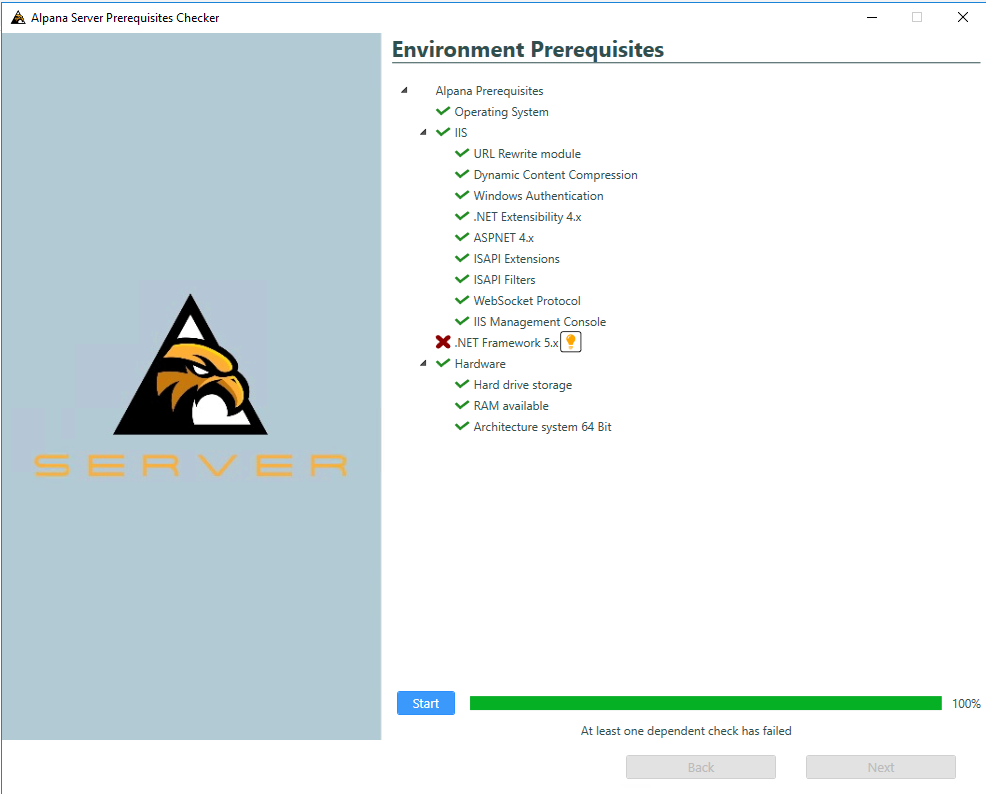
The tooltip button will give you more information.

Configuring the SQL connection
Alpana Server stores its state inside a SQL database.
Use this page to configure the server, databasename and credential to connect to it.
This connection string must allow the installer to create databases and give permissions to users.
This is the address of the SQL Server instance you need to access. Possible values are :
.orlocalhost: local server: server named with a NetBIOS namexxx.xxx.xxx.xxx: server accessible through a IP v4 addressxxxx:xxxx:xxxx:xxxx:xxxx:xxxx:xxxx:xxxx: server accessible through a IP v6 address\: connect to a specific instance. For SQL Express, it may be necessary to use\SQLEXPRESS
Database
The desired name for the Alpana database.
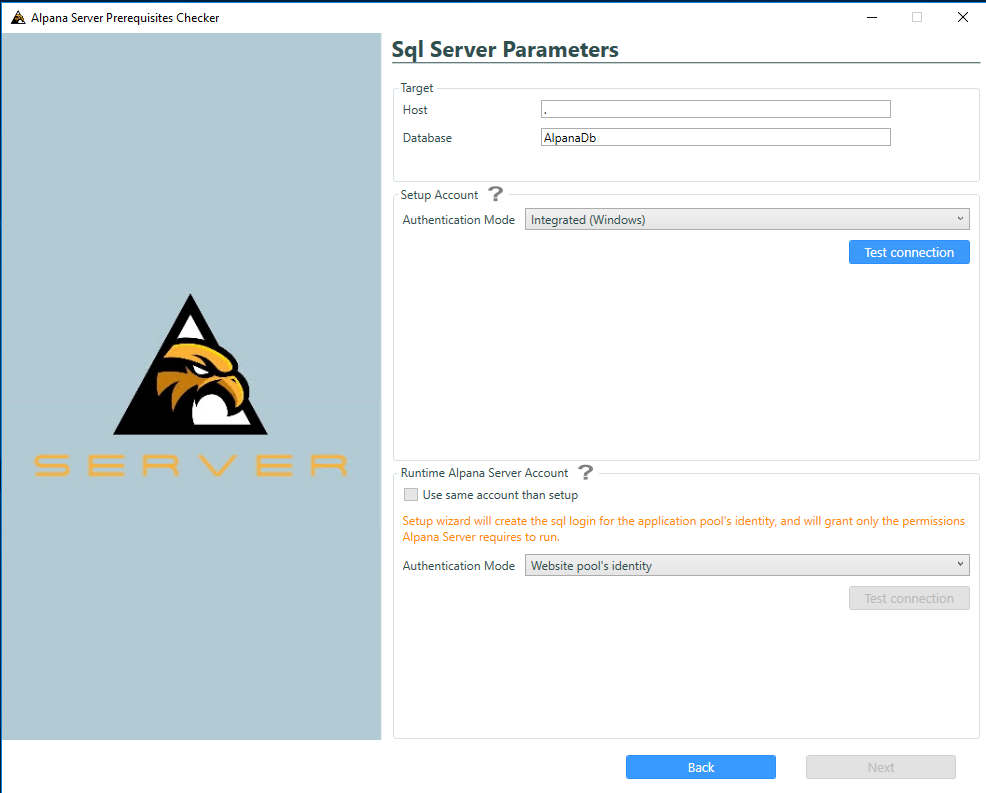
You can choose the account that will install SQL content :
- Integrated (Windows): Use the current logged account.
- SQL Server credentials: Use an already created SQL account.
The test button will check if the given information are correct and if credential are valid for the installation.

You can also configure the Runtime Alpana Server Account.
By default you will use the same account as the one used for installation but you can choose a different user.
A test button allows you to check if the credentials are ok.

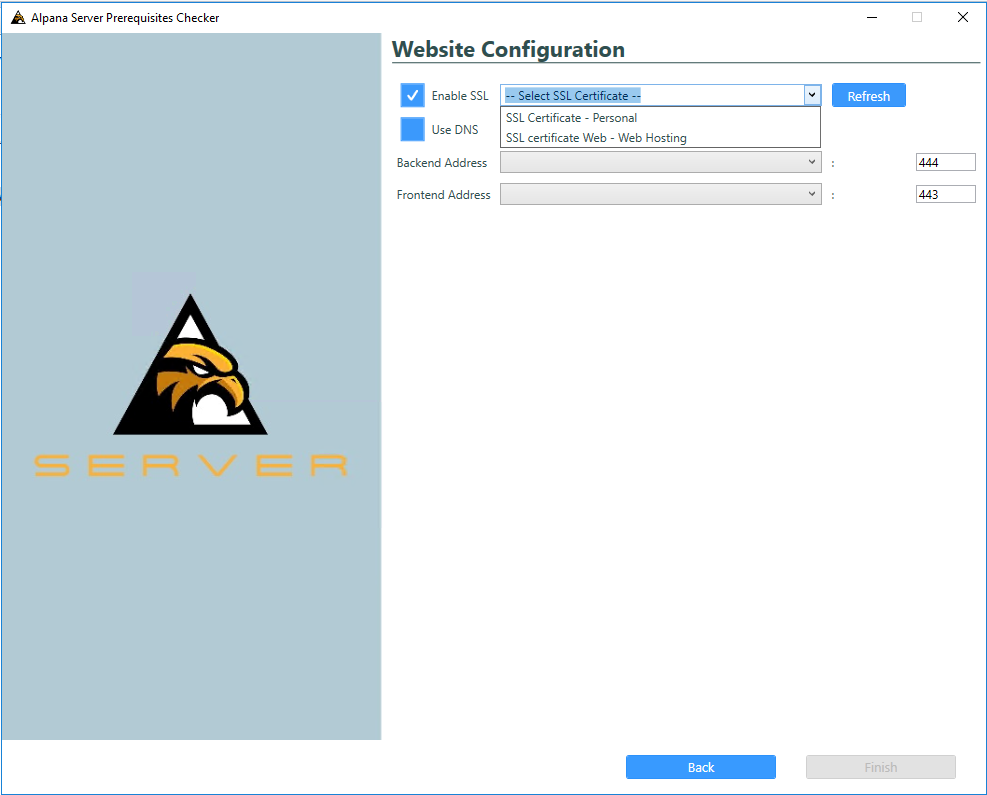
Configuring SSL or DNS
Use this page to optionally configure :
- SSL : insert a certificate to let users connect to your Alpana Server website using HTTPS
- DNS : bind a domain name to let users connect to your Alpana Server using a friendly name like www.alpana.io, or write a static IP address that is not currently available
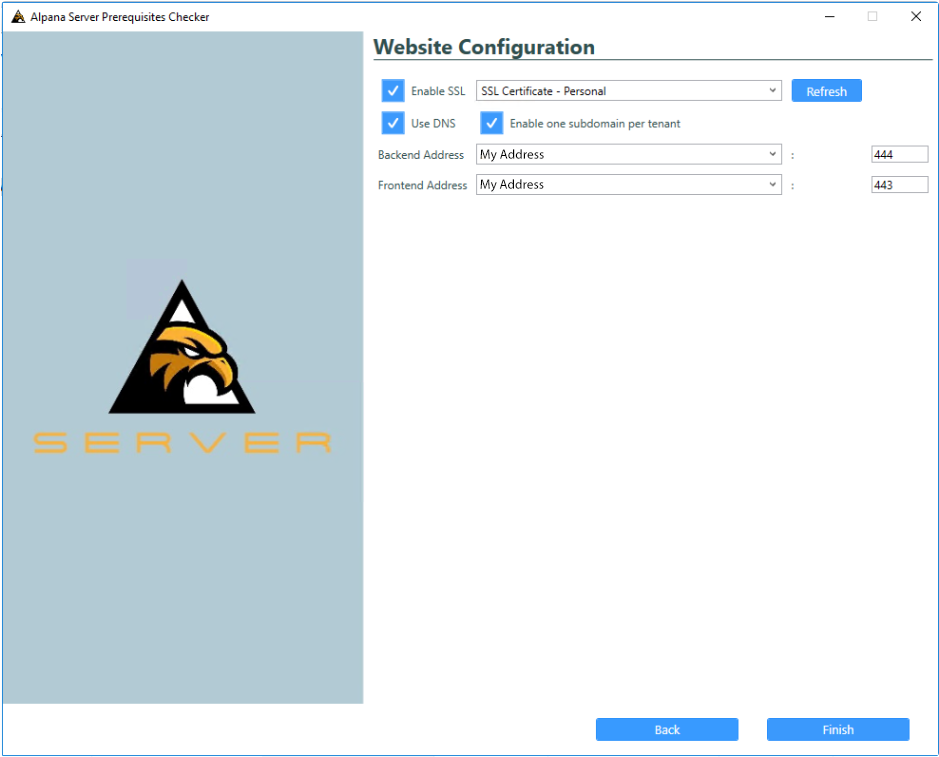
Tenant names as subdomains
If you use DNS with a domain name, you will be able to create subdomains.
The installer can be configured to automatically generate a subdomain for each created Tenant.
For example, if your domain is “mydomain.com”, and you have 3 Tenants, they each will have the following URL :
- tenant “Default” : URL
http://default.mydomain.com - tenant “CustomerX” : URL
http://customerx.mydomain.com - tenant “CustomerY” : URL
http://customery.mydomain.com
,1433: 1433 is the default port for SQL Server, but can be changed like this
Configuring address and ports of websites
Alpana Server actually consists of two IIS websites :
- the Back-End Site is where the application runs. Users will connect to this site for publishing from Alpana Designer, for logging in using Alpana Mobile, or when using the API
- the Front-End Site is where the web portal is made available. Users will connect to this site to view dashboards from a web browser.
This means that you will need two free ports on the host machine. The two ports the installer provides by default are usually unused but if they are already taken by another app or service please select different ones.
If you have several IP addresses (Network Interface Cards), select the desired IP address from the list, or “localhost”.
Note on Windows Authentication
Please note that two Windows users will be using this connection string :
- The Windows user who runs the installer. The installers authenticates to SQL as this Windows user to create databases and transfers rights to the second user below :
- The Windows user who runs the Application Pool of the IIS Website for Alpana Server. Its name is
IIS APPPOOL\Alpana3App. The Alpana Server app will use this user to connect to its owned databases. The dashboard Connections will use this user to connect to dashboard data if the Connections are configured with Windows Authentication.
Note on SQL Authentication
Please note that when selecting SQL Authentication, the SQL user for authenticating as the IIS Application Pool of the Alpana Server (IIS APPPOOL\Alpana3App) will not be created in the SQL Server.
If you need some dashboards to be able to use Windows Authentication in their database Connections, then you will need to manually create the SQL user for IIS APPPOOL\Alpana3App and give it the necessary permission to the databases of those Dashboards.
Completing the installation
Confirm the configuration by clicking Finish :
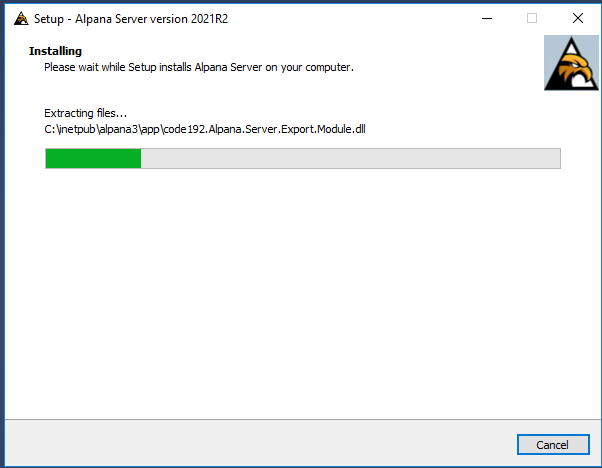
If the installation goes well, you will get the end of installation screen :

Saving log file
Either finishing successfully or with error, Alpana server installer will ask you if you want to save the installation log file.

Launch Alpana Server
Upon completion, you can opt to Launch Alpana Server :

This will open your default web browser to navigate on the Front-End.
If you un-check this option, you may still start the websites at a later time.
Installation troubleshooting
If you encounter some issues during or after installation, save the log file and contact Support.
Next Steps
After successfully installing, you will have perform the Post-Installation steps.
Post your comment on this topic.