
The web connector is used to connect to different Web API source.
Using GET or POST methods, you can query your data.
Formats
The Web Connector allows to get data from RESTful Web Services that serve JSON content.
Supported response content include the three most commons standards: JSON:API, ODATA, JSEND
JSON:API format example:
{
  "links": {
    "self": "http://example.com/articles"
  },
  "data": [
    {
      "type": "articles",
      "id": "1",
      "attributes": "att1"
    },
    {
      "type": "articles",
      "id": "2",
      "attributes": "att2"
    }
  ]
}
With this format, the connector will create a one table schema. This table will be named “data”.
ODATA Example:
{
  "@context": "http://host/service/$metadata",
  "value": [
    {
      "name": "Orders",
      "kind": "EntitySet",
      "url": "Orders"
    },
    {
      "name": "OrderItems",
      "title": "Order Details",
      "url": "OrderItems"
    },
    {
      "name": "TopProducts",
      "title": "Best-Selling Products",
      "kind": "FunctionImport",
      "url": "TopProducts"
    }
  ]
}
Similarly to the JSON:API format, the connector will create a one table schema. This table will be named “value”.
JSEND Example:
{
  "status": "success",
  "message": "Data found",
  "data": {
    "requests": [
      {
        "id": 10,
        "request_code": "8B2BD1",
        "provider_name": "Al Marasim Ladies Salon",
        "provider_name_ar": "Al Marasim Ladies Salon",
        "provider_name_en": "Al Marasim Ladies Salon",
        "service_name": "Nails & Feet",
        "start_datetime": "2018-09-04 18:03:07",
        "status_label": "Pending",
        "status": 1
      },
      {
        "id": 8,
        "request_code": "8713ED",
        "provider_name": "Provider",
        "provider_name_ar": "Provider",
        "provider_name_en": "Provider",
        "service_name": "Nails & Feet",
        "start_datetime": "2018-09-04 18:03:07",
        "status_label": "Pending",
        "status": 1
      }
    ]
  }
}
For this exact format, the Web connector would create a one table schema with one table named “request”. However, depending on how the JSEND API was programmed, the sub-object under data could be named differently e.g “payload”, “post” or basically any name the original developers decided to use. In this cases, the connector will name the table accordingly to the keyword used.
In addition to these three standard formats, the Web connector also support multiple non-standard json responses.
Simple Array:
[
  {
    "Id": 8569,
    "Module": "Production",
    "Shift": "Noon",
    "Staff": "Captain Marvel",
    "Kiln_Feed": 89.6533838600779
  },
  {
    "Id": 8563,
    "Module": "Production",
    "Shift": "Noon",
    "Staff": "Captain America",
    "Kiln_Feed": 89.3475083300634
  },
  {
    "Id": 8556,
    "Module": "Production",
    "Shift": "Noon",
    "Staff": "Captain America",
    "Kiln_Feed": 88.3035192802069
  }
]
With this type of response the connector will create a one table schema with one table named “data array”.
Multiple Arrays
{
  "TableA": [
    {  // data record 1 for TableA
      "FieldA1": "ValueA1_1",
      "FieldA2": "ValueA2_1",
      ...
    },
    {  // data record 2 for TableA
      "FieldA1": "ValueA1_2",
      "FieldA2": "ValueA2_2",
      ...
    },
    {  // data record 3 for TableA
      "FieldA1": "ValueA1_3",
      "FieldA2": "ValueA2_3",
      ...
    },
    ...
  ],
  "TableB": [
    {  // data record 1 for TableB
      "FieldB1": "ValueB1_1",
      "FieldB2": "ValueB2_1",
      ...
    },
    ...
  ],
  ...
}
Here a multi-table schema will be created with one table for each object array present in the response.
Data Property
{
  "cityid": "101010100",
  "date": "201805",
  "cityEn": "beijing",
  "avgbWendu": "28",
  "avgyWendu": "16",
  "maxAqi": "186",
  "minAqi": "99",
  "maxAqiLevel": "4",
  "minAqiLevel": "1",
  "data": [
    {
      "ymd": "2018-05-01",
      "aqi": "121",
      "aqiLevel": "3"
    },
    {
      "ymd": "2018-05-02",
      "aqi": "44",
      "aqiLevel": "1"
    }
  ]
}
If no common standard is recognized, the connector will look for a “data” property. In this response exemple, the connector would create a single-table schema with a table named “data”.
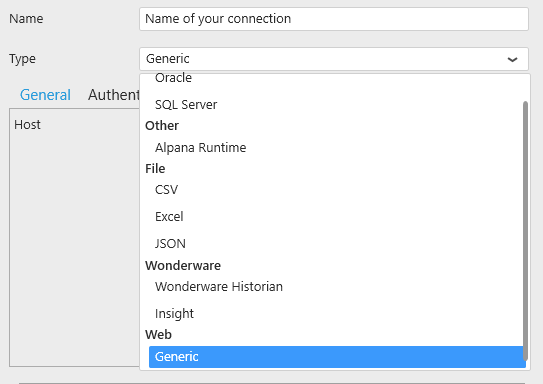
Selecting Connection Type
In the “Create Connection” dialog change the Connection “Type” by selecting “Generic” under “Web” category.
Connection Parameters
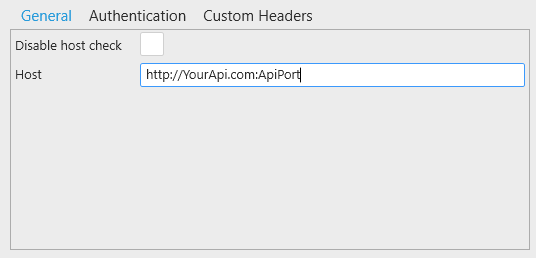
General
Host
Under the General tab, enter the API base URL that will be used to create a request with your API.
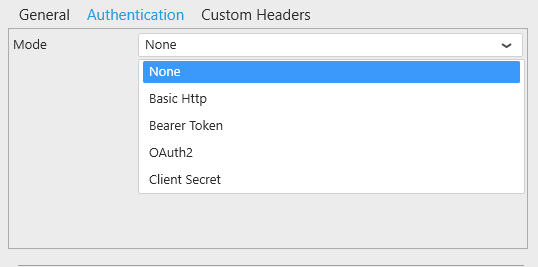
Authentication Mode
Under the authentication tab, select the the authentication mode to use:
- None
- Basic Http
- Bearer Token
- OAuth2
- Client Secret
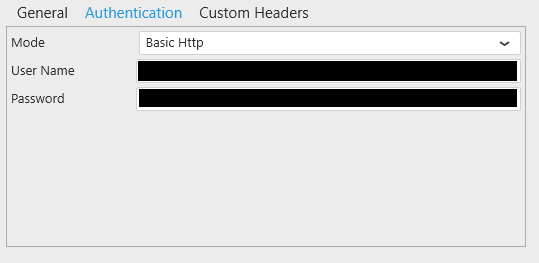
Basic Http
To authenticate with Basic Http, enter the following information:
- UserName
- Password
![]()
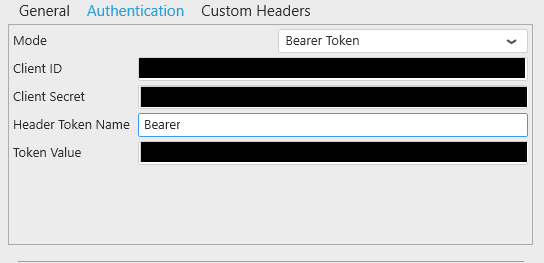
Bearer Token
To authenticate with Bearer Token, Enter the following information:
- Client Id
- Client Secret
- Header Token Name: by default “Bearer”
- Token Value
![]()
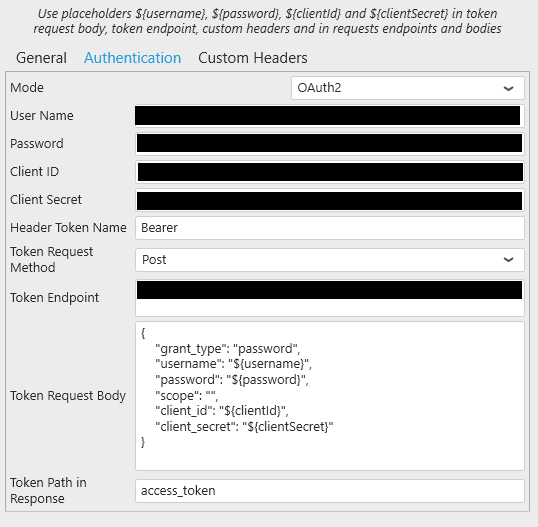
OAuth2
To authenticate with OAuth2, enter the following information:
- UserName
- Password
- Client ID
- Client Secret
- Header token Name: by default “Bearer”
- Token Request Method: Get or post method
- Token Request Endpoint
- Token Request Body
- Token Path in Response
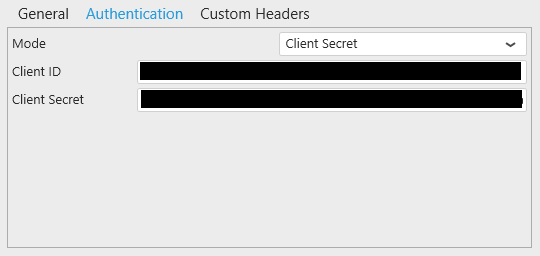
Client Secret:
To authenticate with Client Secret, enter the following information:
- Client ID
- Client Secret
Custom Headers
The web connector allows you to pass custom headers in the request header.
Adding Custom Headers
Click the + icon to add a new Custom Header:

Then enter the key and it’s value:

Deleting Custom Headers
Click on the delete icon, to delete the corresponding custom header.

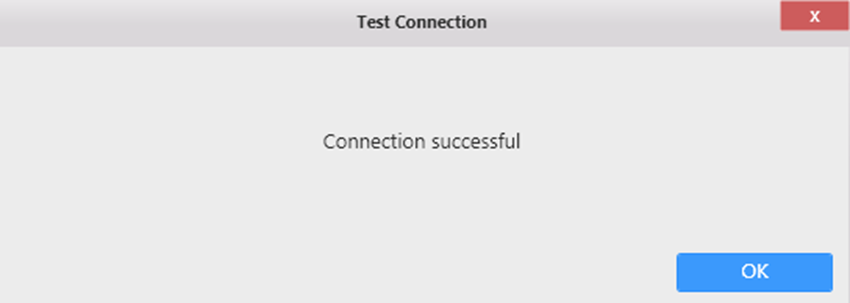
Test Connection
To test the connection for validity, click “Test Connection” button. The following confirmation message will confirm its validity.
If the connection is invalid, the following message appears :
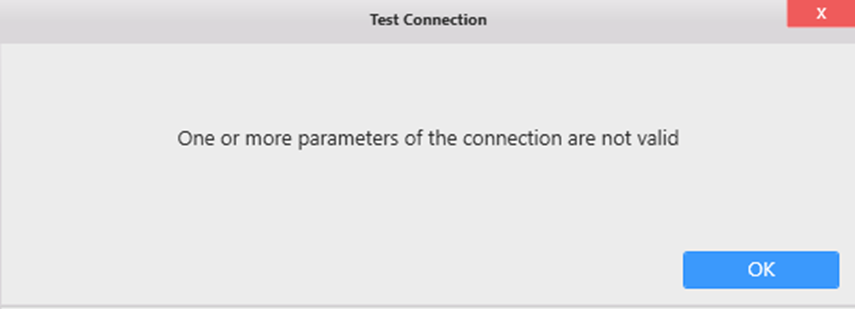
Then you will need to fix the Connection parameters (credentials, server name, …) or check network connectivity (is the API accessible from here ?)
Data refresh and Buffer
The Web Connector is bufferized.
If you need to get new data, see Chapter The data Buffer
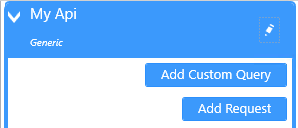
Adding Request
click “Add Request” button:
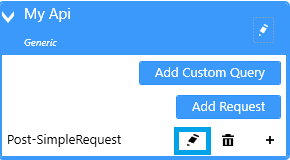
Editing Request
Click on the pen icon of the request.
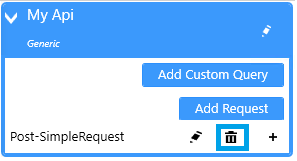
Deleting Request
Click on the delete icon to delete the request
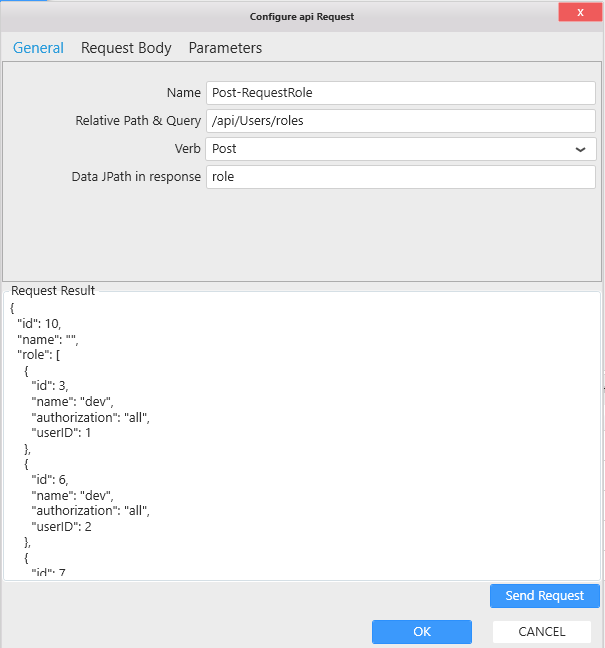
Configuring api Request
In the “Configure api Request” dialog, enter:
- Name
- Relative Path & Query: the endpoint of your API (the base URL of the connection will be use with this endpoint)
- Verb: Select either Get or Post verb
- Data Jpath in response: (optional) to get data in nested objects.
Get Verb
Use the get verb if you don’t have to pass information in the body of the request.

Post verb
Use the post verb to pass search criteria in the body of the request.
In the following example, our data are inside “role”, so in the Data JPath response we tell Alpana where to search for the data.
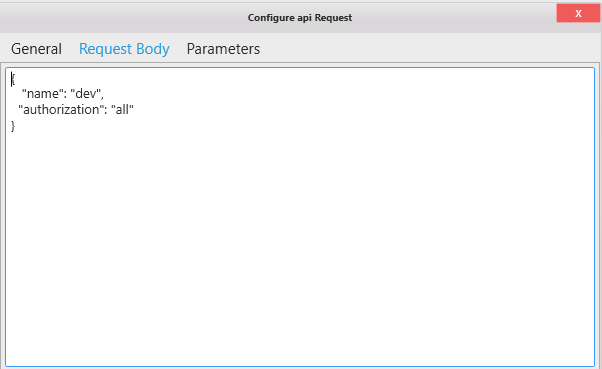
In Request Body tab, enter in json format the search criteria, for example:
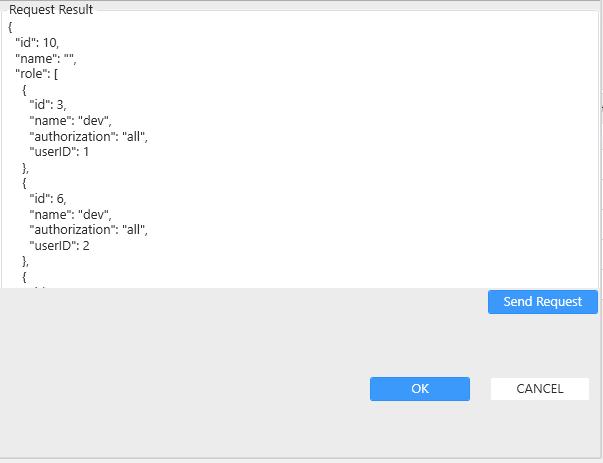
Send Request
By clicking on “Send Request” button, it will show the result of the request to the API:
Custom query
Custom query is available on Web connector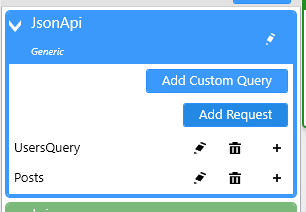
Refer to the custom query chapter to get more information on how to use it.
Post your comment on this topic.