The steps required to activate and configure the application after installation are listed below.
Startup
If you didn’t start the website during the installation procedure, manually start the Alpana3App and Alpana3Client websites from Microsoft IIS Management Console.
Open your web browser to point to the Alpana3Client website.
First login to the Host
When Alpana Server is started for the first time, you can login to the Host using the following credentials :
User name : admin
Password : 123qwe
License Activation
You may now activate your license.
Without this step, you won’t be able to use your installation.
Browsing your license portal
Login to the web License Portal.
Navigate to Licenses & Activations :
Under Licenses & Activations, click the License ID you want to activate :
Important note

Getting the License File
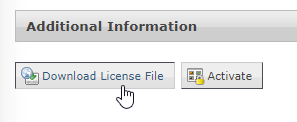
At the bottom, click the button Download License File :
⇒ A file AlpanaServer.lic is downloaded.
Move this file to your Alpana Server installation.
Activating the License File
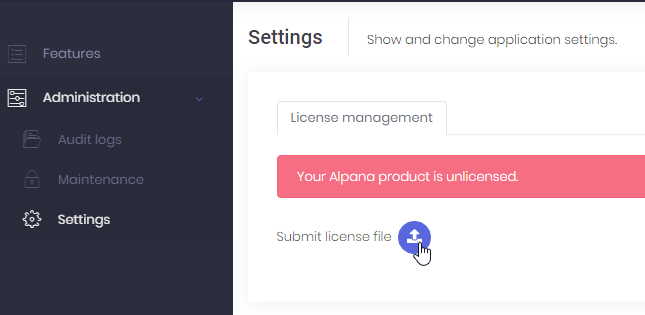
On the Host of your Alpana Server, navigate to Administration > Settings, tab License Management.
Click Submit License File and upload the AlpanaServer.lic file :
⇒ The first step of license activation is complete, but your license is not yet activated.
Activating the License
On the Host of your Alpana Server, click License Activation and leave the pop-up window open :
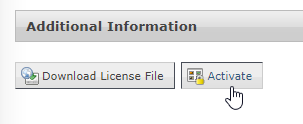
On the web License Portal, click Activate and leave the pop-up window open :
On the Host of your Alpana Server, copy the User Code 1 and User Code2 :
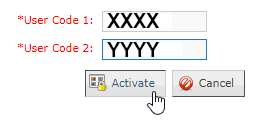
…and paste them in the correct fields in the web License Portal, and click Activate :
⇒ As a result, the web License Portal displays an Activation Code :
Copy the Activation Code and in the Host of Alpana Server, paste it and click to save :
⇒ The License should be activated.
Enabling the features
Depending on your license type, some features may be activated at the Host level.
Login to the Host and browse to Features :
Check the required Features and click Save :
Then, in order for Tenants to benefit from the features, you must allocate them.
Assigning features to the Tenants
You will have to assign license features to the ‘Default’ Tenant.
By default, 1 Tenant exists, called “Default”. If your license allows only 1 Tenant, this is it !
Otherwise you may need to create your other Tenants.
On the Host, Navigate to Tenants management.
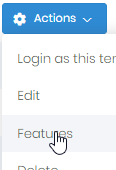
Then on the desired Tenant, select Action > Features :
In the Features window, check which Features to allocate, including resources, and click Save :
What’s next ?
Login to a Tenant
By default, 1 Tenant exists, called “Default”.
You can login to this Default Tenant using the following credentials :
User name : admin
Password : 123qwe
Changing default passwords
To change the password, click on your “admin” username on the top right, and in the menu select Change Password :
Create Categories
Create Categories on the Tenant.
This will allow users to publish Dashboards.
Configure the application
There are several configuration options as an Administrator, please see the Administration pages.
For example, you may wish to Configure e-mail settings.
This will allow to invite users by e-mail, let them recover their passwords, and more.
Create users
Create Users and Roles to let users access Alpana Server.
Configure the relevant security options.








Post your comment on this topic.